How to Easily Display Your Chief Architect 3D Models on Your Website
Dec 21, 2017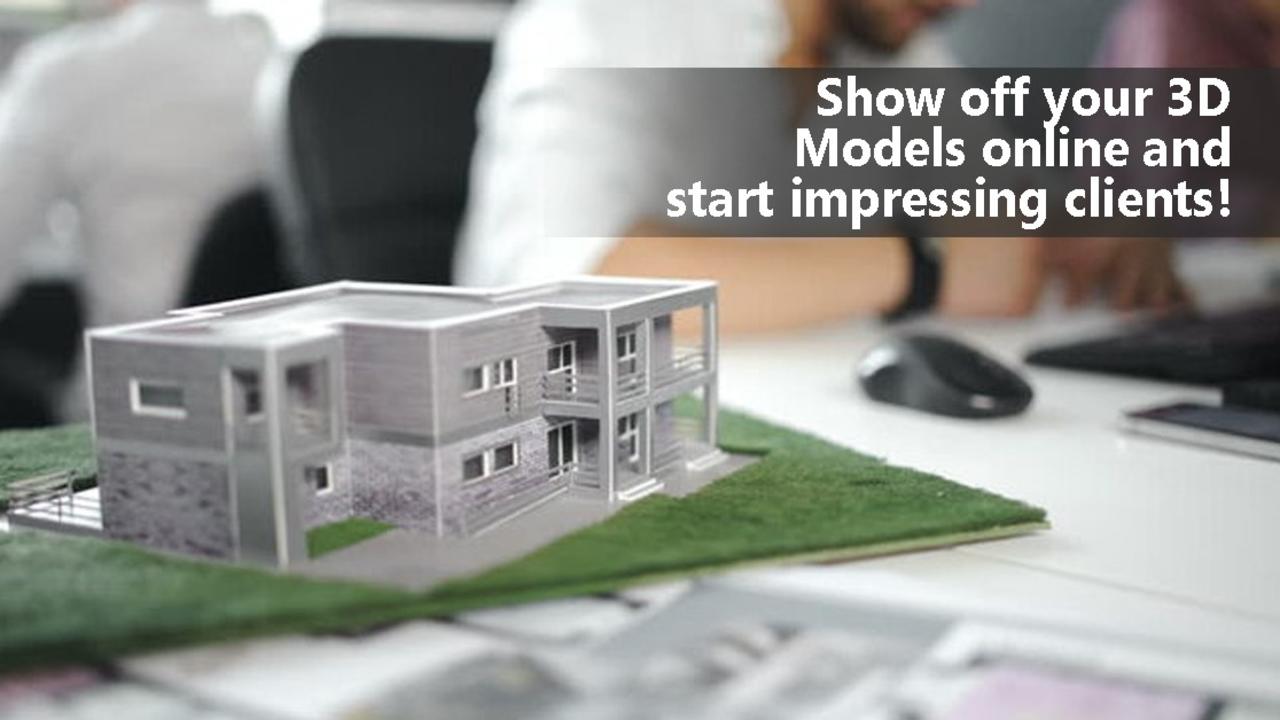
If you use Chief Architect, I’ve got some exciting news for you! I’ve discovered a way to easily display your 3D building models on your website and in your social media, and it’s so simple you’re going to flip!
It’s finally possible to show off your 3D models in a way that your clients will love. It’s fast and painless, and you’re able to create a great user experience for your clients.
You can embed your models on your website and in social media channels like Facebook, Twitter, LinkedIn, Google+ and more. It’s a great way to show off what you do.
The program is called Sketch Fab and you can sign up for free at SketchFab.com
Chief Architect is a great program for creating 3D models and complete working drawings for your clients. But until now all you could do was show them photos of the views of their project or spend massive amounts of time creating a 3D video.
Now you can create an actual virtual model that your clients can look at, spin around and maneuver through to get a better idea what their final project will look like.
You’ll also be pleased to know that you can post your projects for the whole world to see or you can keep them private, so only those you want to view the model will have access.
Examples of Chief Architect 3D Models Being Displayed using SketchFab
Small 3 Bedroom 1-1/2 Story House with Walkout by ChiefExperts on Sketchfab | Small House With Walkout Upper Level by ChiefExperts on Sketchfab | Small House With Walkout Main Level by ChiefExperts on Sketchfab
The process to use SketchFab is explained in this video
Here are the written instructions:
You can create a free or paid online account at SketchFab.com and in minutes you can upload your models. There are a few limitations in the free version that I cover in the video above.
Here are the steps needed to get the model ready to upload:
- Open a 3D model in Chief Architect.
- Select “File - Export - Export 3D Model (3DS)” (3DS seems to work best with this service.)
- Uncheck “Truncate Texture Names” and select “Export”.
- Create a new folder with the name of your project.
- Open the folder, name the project, and save the model. (You’re also saving the materials.)
IMPORTANT: Navigate to the new folder and make it into a .zip file. (This is important if you want the materials to show in your online models.)
Pay close attention to the video at approximately 4 minutes where this is explained!
In Windows, right-click on the folder and select “Send To — Compressed Zip Folder”.
On a Mac, select the folder and in the menu choose “Compress XX Items.”
Log in to the account you create at SketchFab.com:
- Select the “Upload” button.
- Choose the zipped folder you just created.
- Name the project and give it a description. Add tags if you like.
- If you have a paid account ($15 per month or $120 per year) you can make your project private and choose with whom to share it.
- Once the model is uploaded, you can adjust the settings for how the model displays. I explain some of those setting in the attached video.
- If you have a paid account, you can add “Annotations” to define views in your model.
- You can embed the model on your website and share it with social media. I’ll explain how to do those in a separate video.
This is really cool technology — and it works in all browsers! (Though I did it’s a bit slow on an iPad, not surprisingly.) I’ll keep experimenting with this and will report back any new information I receive!